Enhancing the Canvas Template
TAMU Canvas Template
The Texas A&M University template in Canvas has been designed and updated for ease of use by course instructors to enhance the student learning experience. The template is automatically applied to all courses in Canvas to enhance the student experience.
Enhancing Template Buttons
The template includes buttons, graphics, and other assets designed to enhance the student experience, all grounded in best practices in instructional design. If you prefer to personalize your course further, editable templates are also provided, allowing you to create custom buttons and elevate the design even more.Homepage Banner
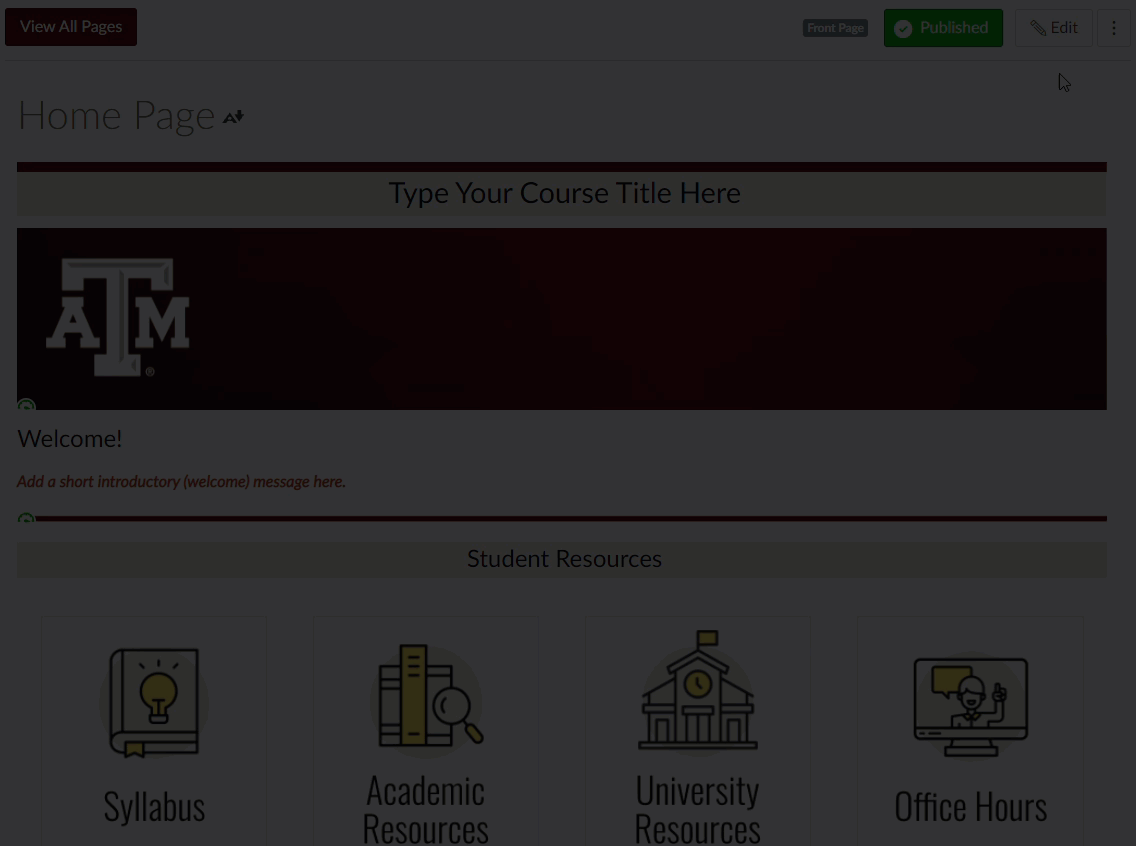
 | The Homepage Banner is the first graphic students see when they enter your Canvas course. We have provided a customizable banner that can be personalized with your course name. Updating this banner is a simple way to create a unique and welcoming homepage experience. This enhancement helps students quickly orient themselves within the course and sets the tone for an engaging digital learning environment. The Student Resource Buttons feature five commonly used links that provide students with quick and convenient access to essential course and campus resources directly from the Homepage. These include the Syllabus, Office Hours, University Resources, Canvas Resources, and Mental Health information.  Homepage Banner Template This link opens a Google Drawing that allows you to copy and customize the Home Banner. For additional assistance on how to modify and add the Homepage Banner to your course, navigate to the Modifying the Homepage Banner. Below are the steps for how to modify the Homepage Banner template asset we have provided and add it to your course:
|
Student Resource Buttons
| Student Resource Buttons include five frequently used buttons designed to provide students with quick and efficient access from within the Homepage that link to important resources students rely on such as Syllabus, Office Hours, University Resources, Canvas Resources, and Mental Health information. This button is linked to a Page pre-loaded with Texas A&M’s minimum syllabus requirements that is designed as a guide to help with the heavy work of creating a syllabus. Use this Page to fill in the blanks provided with the course information. Office Hours This button is linked to a Page pre-loaded with Office Hours information that serves as a place for faculty to add detailed information about office hours, including a place to add a Zoom link or office location. University Resources This button is linked to a Page with links to helpful university support resources for students. This includes links to contact information for academic resources, such as the Library, University Writing Center, and also Technology and Campus Resources. Canvas Resources This button is linked to a Page with important Canvas resources for students, such as tutorials to help students with getting started in Canvas, Canvas tools, and links to Canvas support. Mental Health This button is linked to a Page with links to mental health resources available to all students at Texas A&M University, including a QR code to download the MySSP app for 24/7 access to care. Note: Do not delete the folder titled 25 FALL TEMPLATE ASSETS (DO NOT DELETE) located within the Files section of your Canvas course. Deleting these assets will cause the image files provided to break and cause issues for students while viewing your content. For additional assistance on how to modify and add the assets to your course, go to the Modifying the Resource Buttons section below. Below are the steps for how to modify the Student Resource Button template assets we have provided and add it to your course:
Below are the steps for how to add the Student Resource Buttons to your Homepage:
|
.png)
Navigation Buttons
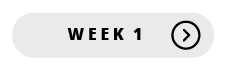
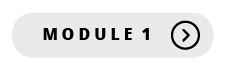
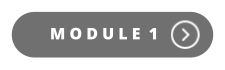
 | Navigation Buttons are designed in five colors to select from to provide students quick access to their learning materials directly from the Homepage. The Navigation Buttons can be enhanced based on your course structure, such as by week or module. By default, these buttons no longer included by default in every template. If you choose to use these buttons, you can easily upload them into your course shell and create hyperlinks to the buttons using the tools in the Rich Content Editor in Canvas. For additional assistance on how to modify and add the assets to your course, go to the Modifying the Navigation Buttons section below. If your course is organized using another structure such as Chapters or Units, we recommend creating modified versions of the Module navigation buttons using the Blank Button Template. Below are the steps for how to modify the Navigation Button template assets we have provided and add it to your course:
Below are the steps for how to add the Navigation Buttons to your Homepage:
Below are the steps for how to link a Navigation Button to content:
|


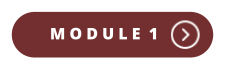


Black Module Set
Student View
You can view a course the same way that your students view it using the Student View feature in Canvas. Enabling Student View creates a Test Student in your course. You can also activate Student View in your Course Settings. To access Student View, click on the Student View button located on the top right of most pages.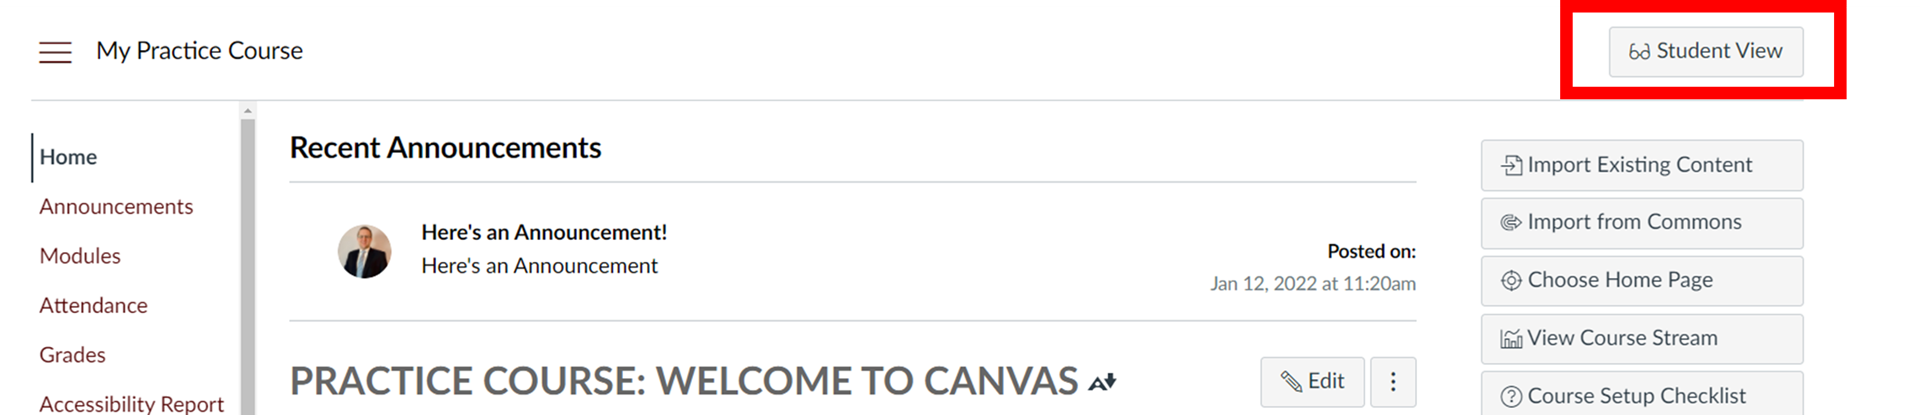
You will know that you are in Student View because of the magenta bar at the bottom of a page. This will remain on each page as you stay in Student View.

We recommend using the Student View feature for the following:
- View course content
- Post and reply to Discussions
- Submit Assignments
- View Grades
- View People
- View Pages
- View the syllabus
- View and submit Quizzes
- View the Calendar and the Scheduler (if enabled)
Resetting vs Leaving
 | If you would like to reset the Test Student data, use the Reset Student option. Prior to doing this, keep in mind that Test Student activity that involves interactions with other students cannot be removed, such as discussion replies. Test Student data that involves interactions with other students are retained even if the Test Student is reset. |
 | If you would like to only leave Student View, but retain the data in your course, you can leave Student View by clicking on Leave Student View on the banner that appears on the bottom of the screen. Examples of why you would consider keeping the data is if you would like to manipulate it from the Teacher perspective, such as grade an assignment submitted by the Test Student. |
Student View Considerations
The table below illustrates limitations of using the Student View feature in Canvas.
| Student View at Texas A&M University |
|---|
| Each Canvas course has a separate Test Student account. Whenever you move to a new course you will need to enable Student View for that course. |
| Submissions and scores for the Test Student do not affect course analytics. |
| You can only view the course layout as it is seen by your students. You cannot view student-specific information, such as conversations between students. |
| Once you activate Student View, the Test Student is shown at the end of the Gradebook and SpeedGrader and is automatically added to every section in your course. |
New Quizzes assessments should be previewed in New Quizzes and not taken as the test student. Test Student attempts cannot be reset and will affect analysis reports. |
As a note, you are unable to use the Student View feature to preview:
- Attendance
- Inbox
- Collaborations
- Differentiated assignments
- External third-party tools
- Groups
- Peer reviews
- Profiles
Accessibility and Mobile Friendliness
Navigation Buttons
 | Consider designing your courses with mobile friendly guidelines in mind. Some students will access your Canvas course and materials from a computer at school or home. Other students will use their mobile device, standing in line at a local coffee shop, or while commuting from class to class. Students will have a slightly different experience whether accessing Canvas from a browser or using Instructure's free Canvas app.
The Canvas Student and Canvas Teacher app each have a Dark Mode setting. Due to the Texas A&M Canvas style guide, some buttons and features are difficult to use when in Dark Mode. Below are the best practices to optimize the Dark Mode for users.
|
Additional Resources
| Customizing the Course Menu Navigation Bar | Adding Buttons to the Course Homepage in Canvas | TAMU Canvas Template Demo -Syllabus Page |